As I mentioned in the previous post, we can use the peel of the (bitter) Seville oranges to make jam. This kind of jam has a mild sour taste which is delicious, and isn’t very sweet. This is another traditional family recipe that I’m sharing with you. I personally like it a lot and I hope you will like it too.
Ingredients:
- 1 kilo Seville lemon
- 500 grams sugar
- 5 grams lemon salt
Preparation:
- Wash the oranges and grate the outer shell slightly

- Using a knife, cut horizontal lines to divide the peel into 6 parts, then soak them in cold water overnight

- The next day, replace the water with fresh water and boil the peels for about 10 minutes then discard the water again
- With a small spoon remove slowly the white of the inside of the shell, rinse them and allow to dry
- When they are dry, weigh them; the sugar used should be the same weight as the orange peels
- Soak again in cold water for 6 hours, changing water halfway
- Prepare a needle and a thread, and sew each shell into a crescent shape then sew every 12 pieces together
- Place the shells and the sugar in a pot and leave together for 6 hours

- After allowing it to rest for the 6 hours, place the pot on a medium fire
- Add one cup of water and boil until the sugar thickens, stirring with a wooden spoon to prevent sticking on the sides of the pot
- Dissolve the lemon salt with 1 tablespoon water and add it to the sugar syrup, stir and put the fire off
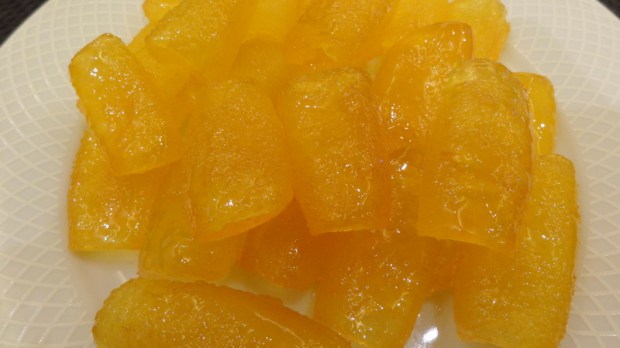
- Allow to cool then remove the thread from the shells and place in a jar with the syrup

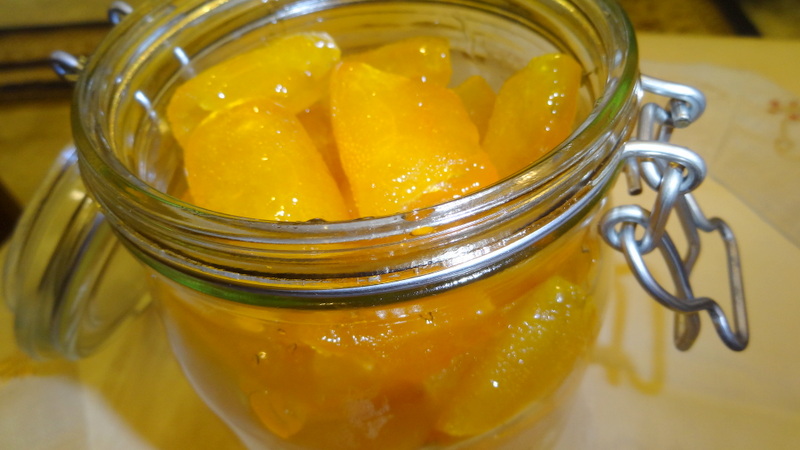
ET VOILA… C’EST TOUT! BON APPETIT 🙂